NEW CONSTRUCTION
Fireplace Surround Upgrade
FIREPLACE SURROUND
Details
Transforming a Fireplace: Journey with Slate Tile and Shiplap
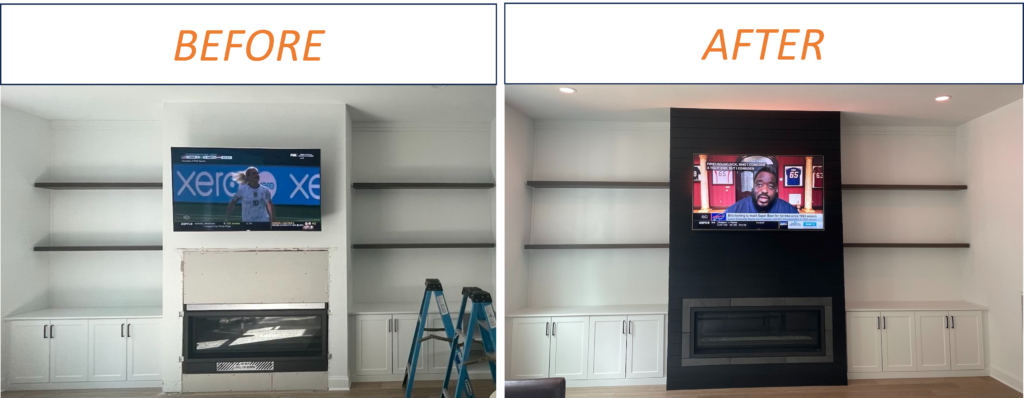
Sharpman Construction is excited to share the details of a recent fireplace makeover project. We embarked on a journey to elevate a fireplace from standard to stunning, and the results were nothing short of transformational. If you’re considering a fireplace update, I hope our process can offer some inspiration and guidance.
Step 1: Laying the Slate Tile Foundation
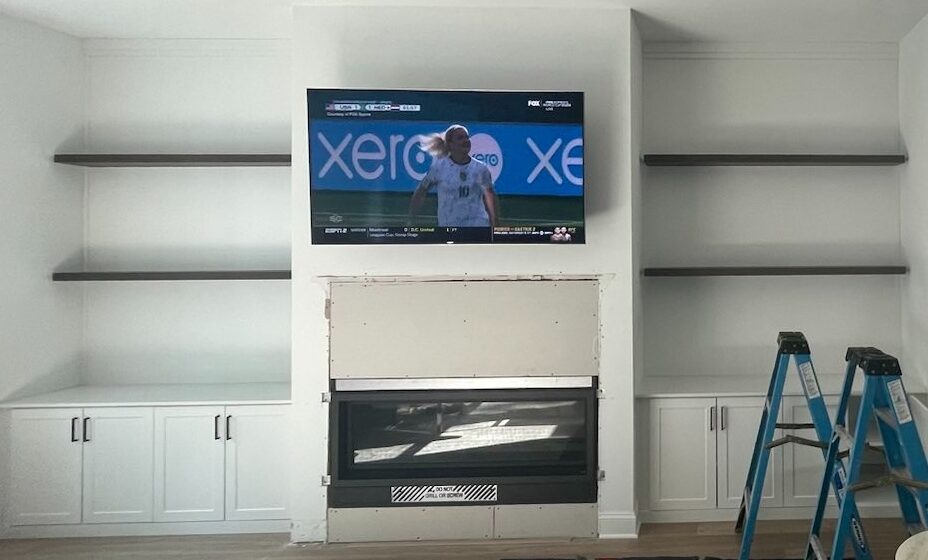
Our first task was to install the Daltile Cascade Ridge Slate Tile around the fireplace surround. Slate tiles are renowned for their durability and natural beauty, and this particular style brought a sophisticated, rugged charm to the space.
Choosing the Right Grout: To complement the slate, we opted for charcoal sanded grout. This choice not only highlighted the rich tones of the slate but also provided a seamless, contemporary finish. Sanded grout is excellent for its durability and resistance to cracking, making it ideal for high-traffic areas like a fireplace surround.
Sealing the Edges: Where the matte black aluminum square tile edging met the metal of the fireplace insert, we applied a special heat-resistant silicone black sealant. This step was crucial in creating a sleek, polished look while ensuring that the edges were sealed properly to handle the heat from the fireplace. The silicone sealant also helped to prevent any potential gaps or leaks, adding to both the aesthetics and functionality of the fireplace.
Step 2: Adding Timeless Shiplap for a Modern Touch
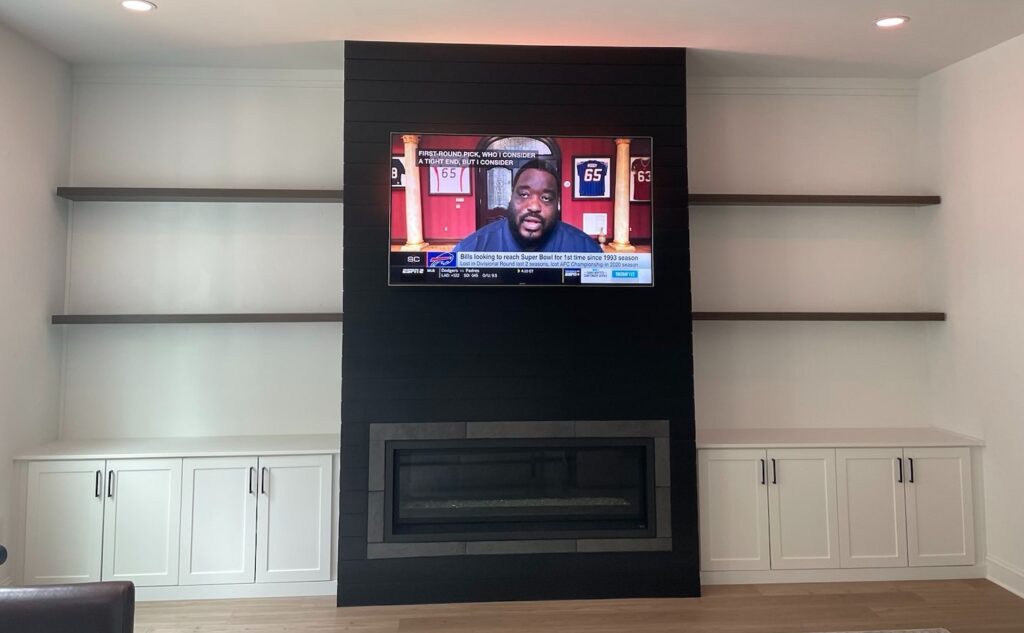
With the slate tile in place, we turned our attention to the fireplace chase. We wanted to add a vertical element to enhance the height and presence of the fireplace, so we chose 1×6 Timeless Midnight Black Smoot Pine Nickel Gap Shiplap Boards.
Why Shiplap? Shiplap is a fantastic material for creating a modern, cohesive look. The black finish of the pine boards brought a deep, rich hue that complemented the slate tile perfectly. The nickel gap between the boards added a subtle detail that enhanced the overall aesthetic while keeping the look clean and sophisticated.
Installation Tips: When installing shiplap boards from floor to ceiling, precise alignment is key. We started from the bottom and worked our way up, ensuring each board was level and securely fastened. The vertical installation also visually elongates the fireplace chase, giving it an elegant and contemporary feel.
Final Touches
With the slate tile and shiplap in place, our fireplace makeover was complete. The combination of rugged slate with sleek black shiplap created a striking contrast that drew attention and elevated the entire room.
We’re thrilled with the outcome and hope this detailed account of our fireplace transformation offers some valuable insights for your own home projects. Whether you’re updating an existing fireplace or starting from scratch, selecting the right materials and following a thoughtful installation process can make all the difference.
Feel free to drop any questions or comments below if you’re considering a similar project. We’d love to hear about your experiences and share more tips!
